Setup:
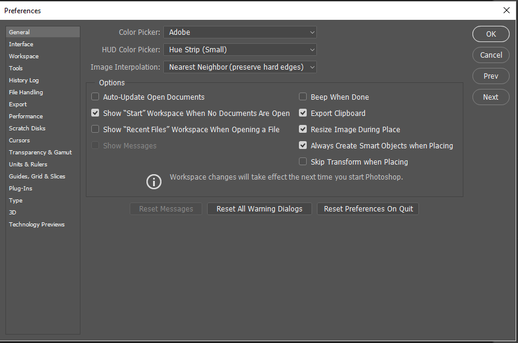
1: Open up Edit > Preferences > General
- Select "Image Interpolation" and set it it "Nearest Neighbor"
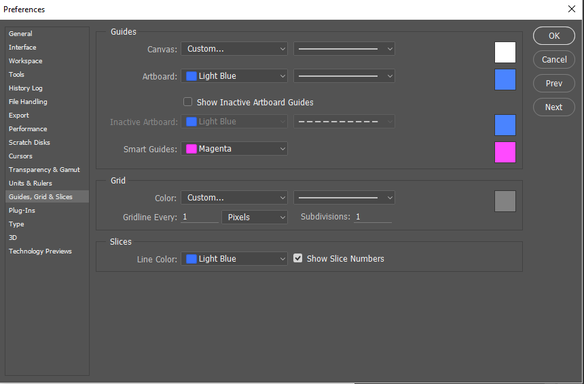
2: Next, go to Edit > Preferences > Guides, Grids and Slices
- In the "grid" section, make sure the settings are "grid-lines every 1 Pixels and Subdivisions: 1
Step 1:
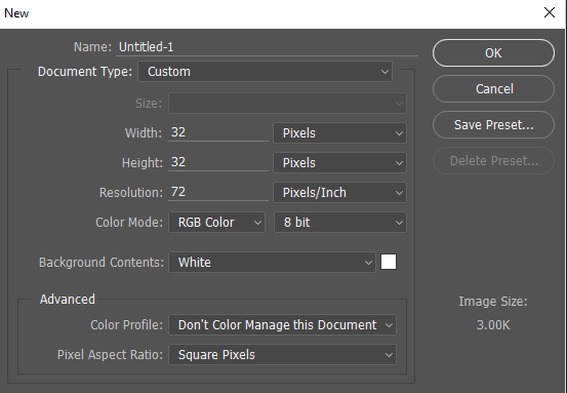
1:Bring up a new page (Ctrl + N) to bring up the settings.
2: Set the dimensions to 32 x 32 (make sure the setting beside it reads "pixels".) and the resolution to 72
2: Set the dimensions to 32 x 32 (make sure the setting beside it reads "pixels".) and the resolution to 72
- the dimensions can be to your preferences so long as it is below 72 x 72, but for this example we are starting off small.
Step 2
The page should look really small. press Ctrl + O (zero) to fit it to screen.
Step 3:
Go to View > Show > Grid to show the... well... grid (if it doesn't show, then press Ctrl + H).
Step 4:
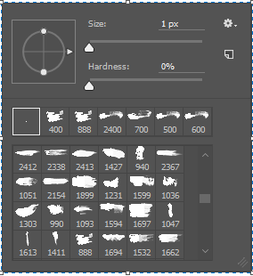
Change your brush tool to pencil (right click). Click at the icon at the top left (or right click the screen) and set the size to 1.
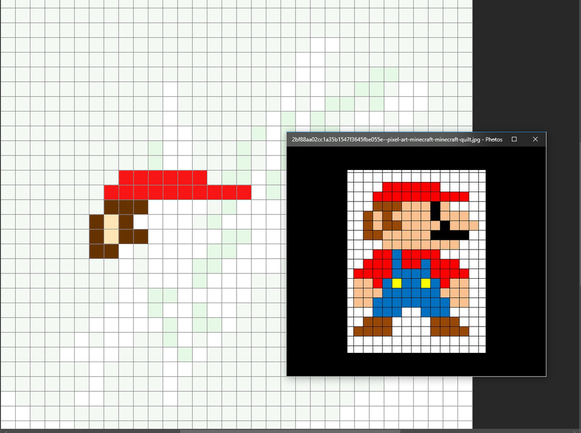
Step 5:
Click. Alot. You are going to click like you have never clicked before. Your index finger will be SO sore after this.
Tips:
Tips:
- If you need to zoom in to be more precise, press Ctrl + "+" or Ctrl + "-" to zoom in or out
- If you're like me and have absolutely NO imagination, then get an image off of the internet as a reference.
- If you messed up and need to erase, click on the color palette and set the color to white. Then, click on the part that you want erased
- you can adjust the size of the brush with the bracket keys ("[ ]")
- If you're lazy and you don't want to keep switching colors, you can "store" a color by pressing X. This switches pallets. You can "store" up to 2 separate colors.
- If you want a specific color, you can type in an RGB code. Here's the link for the codes:
http://www.rapidtables.com/web/color/RGB_Color.htm
Step 6:
Hooray. You're done.