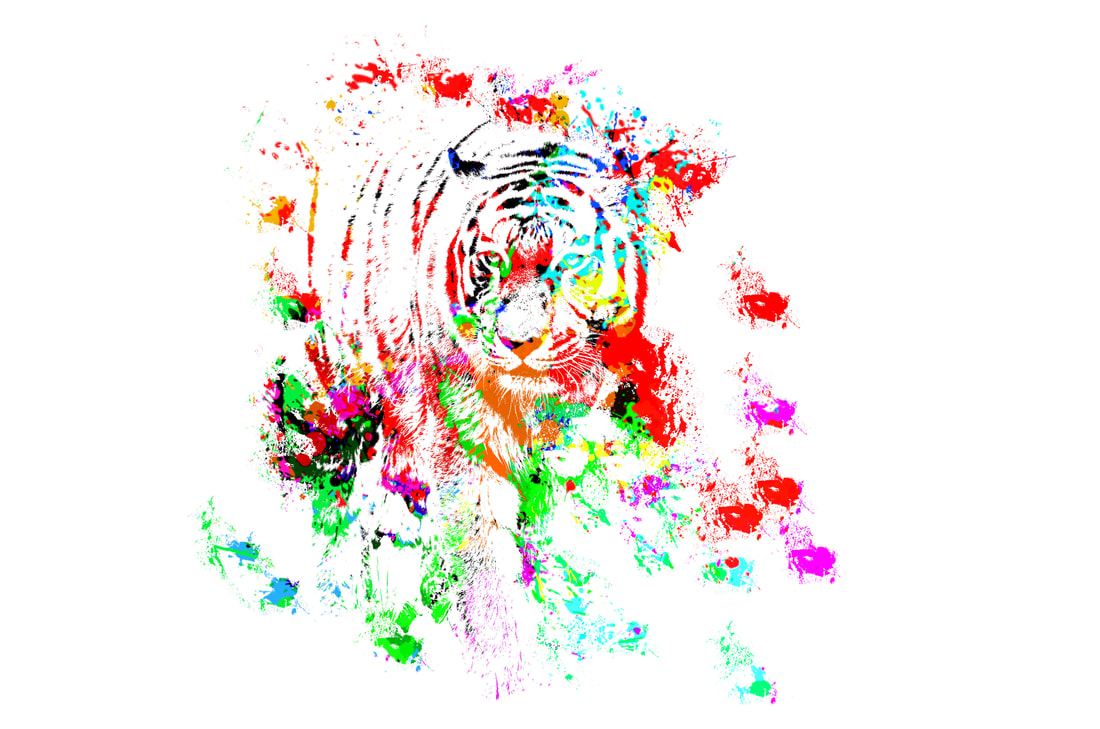
Sample Product
Before we start:
Download brush files here: https://www.brusheezy.com/brushes/23300-16-splatter-brushes
Once brushes are downloaded:
Download brush files here: https://www.brusheezy.com/brushes/23300-16-splatter-brushes
Once brushes are downloaded:
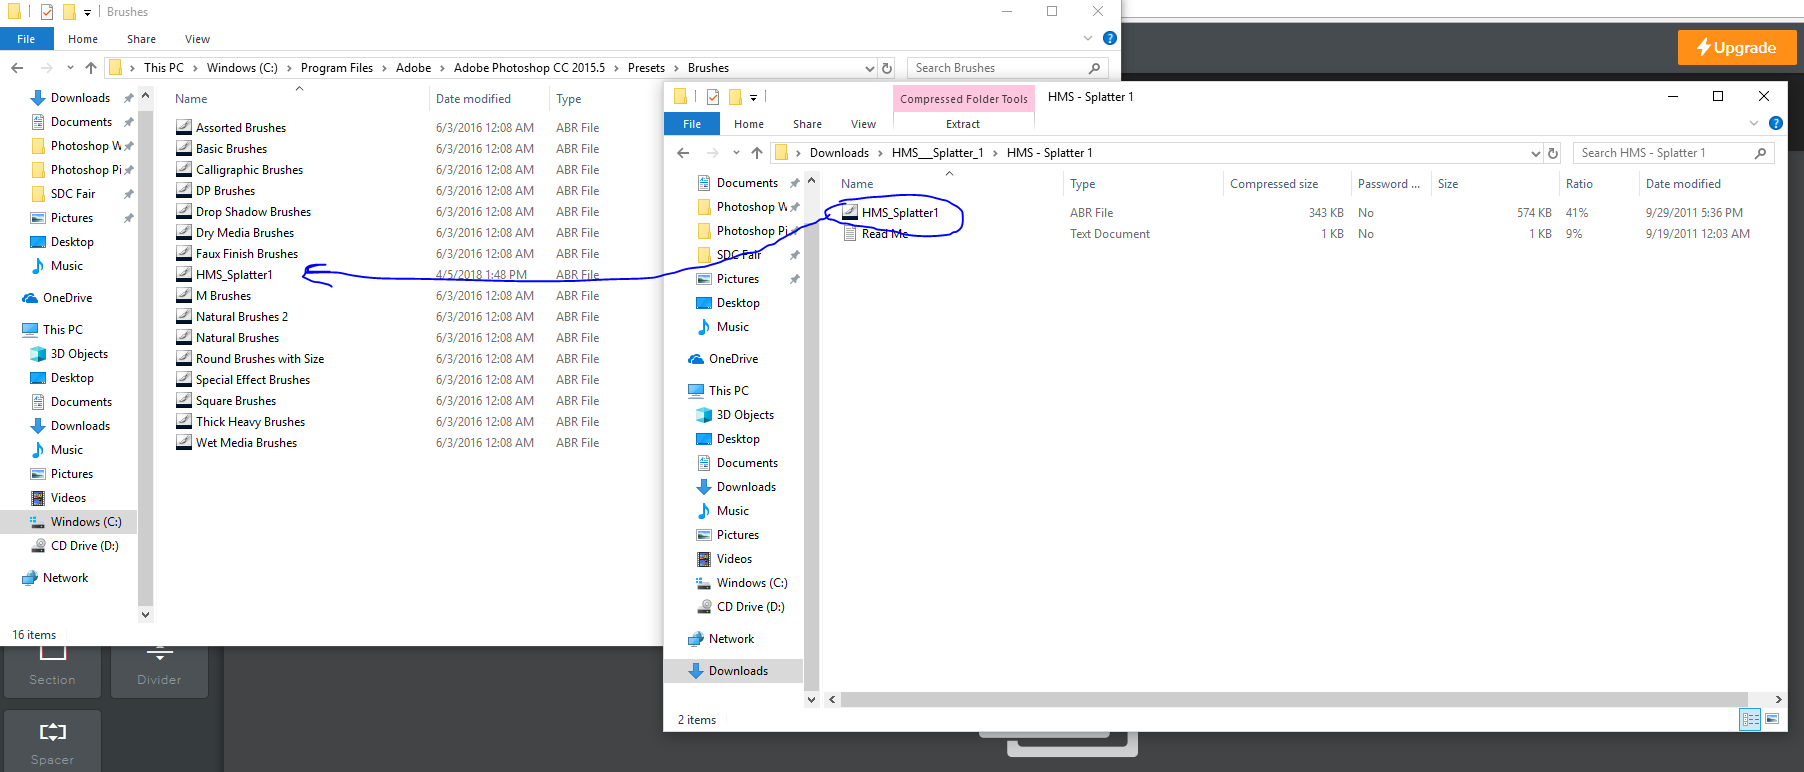
- go to files > windows (c:) > program files > adobe > adobe photoshop > presets > brushes
- go to where you downloaded your brush and drag it into this file
Step 1:
- Select the picture you would like to edit
- Separate the subject from its background (there are many ways to do this, but the method I used is the quick selection tool)
Step 2:
- Click on the option "Select and Mask" (note: it might say "Refine Edge," it's the same thing)
- On the bottom right where it says "output settings," click on the drop-down menu and select "New Layer with Layer Mask"
Step 3
- Ctrl + click the new layer button
- press D on your keyboard
- press Ctrl + Delete to fill the layer with white
- Convert the layers to a smart object: Shift click the top layer (top and middle layer should be highlighted) > click on the box at the upper right of the layers panel > click "convert to smart object"
Step 4:
- Ctrl + Click new layer button 2x > fill the bottom (new) layer with white (Ctrl+ Delete).
- click on layer 1 (make it active) and hide the top layer (click on eyeball next to top layer)
Step 5:
- Click on the brush tool > click on brush picker
- click the gear icon and the select HMS_Splatter1
- click on any brush you want to use (make sure opacity and flow are at 100%
Step 6:
Here's where things start getting complicated...
Here's where things start getting complicated...
- Pick any color (recommended: Bright colors) > Left click on the portrait once
- make 3-4 new layers
- repeat step one for each empty layer > feel free to experiment with other brushes > I recommend doing 1 paint splatter for each separate layer > Do not put a paint splatter in layer 2
Step 7:
- Make layer 6 active > Shift + Click layer 1 > press Ctrl + G
- Make 2 more copies of that folder by pressing Ctrl + J twice
- make "background copy" visible and active
Step 8:
- Go to Image > Adjustments > Threshold
- Set the threshold level to 128
- Press Ctrl + A > Press Ctrl + C
- Click the folder Icon, then click the layer mask icon
- Alt + click the white image > press Ctrl + V > press Ctrl + D
- Invert the image by pressing Ctrl + I
Step 9:
- Select "Group 1 copy 2" > Shift click "group 1"
- Drag the layers to the top folder (the one next to "Group 2")
- Click on the eyeball on "Background Copy" to hide it
- Hooray for more experimenting: from one of the 3 folders highlighted, click on one > Press Ctrl + T > readjust the positioning of each splatter as you please
- from the drop-down menu, experiment with whatever blend mode you want
Step 10:
- Make "Group 2 Active." Then, press B to bring up the brush tool (the color palettes should be black and white)
- Using the brush tool, click around the edges of the subject to add pain splatters (tip: X rotates between colors, black on top= erase, while white on top = splatter).
- Congrats, you're done
